If you’ve been googling endlessly ‘how to create an online store with Canva Free’ so you can begin selling your own products ASAP: you’re in the perfect place! In this quick guide I’ll empower your inner creative queen and walk you step-by-step through each part. All you need is your Canva Free account! Hint: This tutorial includes a Free Template to make this process run silky smooth.
Your product categories are the “groups” that will let your customers know what kinds of products you sell. So for example, if you sell accessories, you can divide your products into ‘Bracelets’, ‘Hair Bows’ and ‘Bundles’ (two or more products bundled together.)
Step 4. Step 4. Add your Store’s Products.
This is by far one of the most fun parts, as you can include as many products as you need for free.
Drag and drop your products photos and fill out each product’s title and descriptions.
Ps. With this template you can even add relevant categories, to make your online store even more SEO-friendly.
BONUS. Step 6. How to create a ‘Buy with WhatsAp Button?
Creating your direct to WhatsApp link on your online store is a key step if you want your customers to buy your products via WhatsApp chat. And please worry not, I’ve created this super simple to do, copy-and-paste formula:
Write down your phone number including country code, any internal area code (if applicable) followed by your phone number, like this: +1 (555) 555-5555
Remove any spaces from your phone number and / or area codes. Like this: 15555555555
Copy and paste this link: https://wa.me/
Next, paste your phone number after the slash: https://wa.me/paste-your-phone-number-here
And voilá! Your WhatsApp link button has been created.
Step 7. Copy and paste your WhatsApp Link in your product page.
Now that you have your WhatsApp Link ready, you can copy and paste it onto the ‘Buy Now’ text in your product’s page.
Step 7. Publish your Online Store.
Publishing your online store is super easy, simply follow these steps:
If you’re feeling a bit lost… don’t worry, learning every new skill can feel overwhelming. Sometimes there’s just a lot to take in, right? 💗 (we’ve all been there). You can always watch the Free Step-by-Step Video Tutorial Here ✨
Welcome to this Kitty Mogul Tutorial for a lovely aesthetic invoice for your small business, handmade products, marketing services or anything you sell!
Why do you need an invoice?
In a world where everyone seems to launch a new business everyday, the way you’ll really stand out is by making a lasting visual impression in your customers’ mind, and what better way to do this than creating beautiful branded stationary for something so important as: your invoice! As you know, here at Kitty Mogul, we love to make things easy and aesthetically pleasing for you, so we’ve created this step-by-step guide and video tutorial so you can confidently create your own invoice completely for free!!
Now that your invoice is ready, this is the perfect time to send it to your client. A friendly and polite message will always be a great idea for communicating to your client that the invoice is ready.
You may draw some inspiration from the example below:
Watch the Full Step-by-Step Tutorial Here 👑
If you’re feeling a bit lost… don’t worry, learning every new skill can feel overwhelming. Sometimes there’s just a lot to take in, right? 💗 (we’ve all been there). You can always watch the Free Step-by-Step Video Tutorial Here ✨
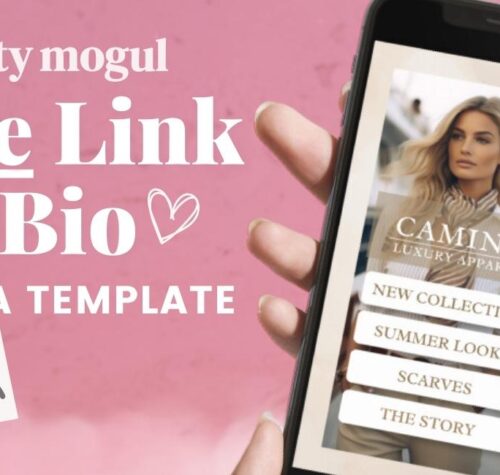
Welcome to this Kitty Mogul Tutorial for a stylish Link in Bio Page to link to your Instagram Bio, your online store or practically any type of business you want to promote.
Your Ideal Client is Looking for You
Picture this: your ideal customer clicks on your Link in Bio page, and enters a super stylish page that not only presents your products beautifully, but also directs your followers seamlessly to your online store, your products, your website, your WhatsApp contacts, or any part of your business that you’re eager to promote. The best part? Here at Kitty Mogul, we’ve made it all incredibly easy, and it’s completely free!
Write the titles you want your page to have, for your customers to see as soon as they click on your Link in Bio Page.
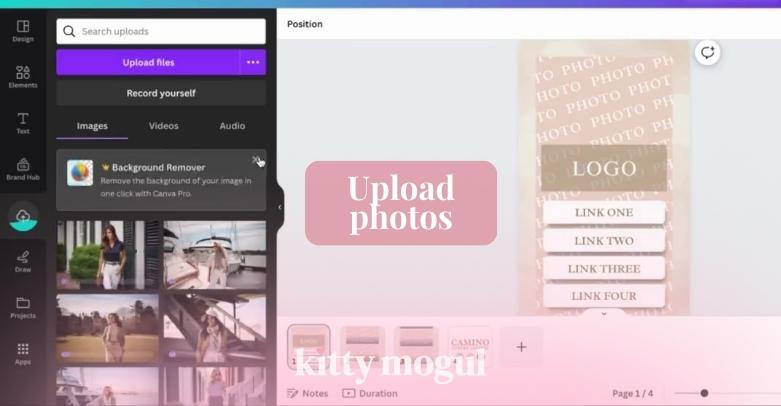
Step 4. Add Your Main Photo on Page 1
Pick your favorite photo to show as a cover for your Link in Bio Page. It should be a very powerful image, to spark interest in your customers to keep scrolling to see more of your products.
Add the photos and titles to the other 2 pages of your Link in Bio page. You can display your best selling products in order of importance, so your customers know what they can expect from your current and upcoming collections.
Step 7. Setup Your links.
You can easily add links in Canva. All you need to do is:
Now that your Link in Bio Page is looking gorgeous and ready to go. You can share it with Free Hosting by clicking ‘Share’.
Remember to click on the option ‘Website’
Add set your Navigation style as ‘Scrolling’
Watch the Video Tutorial Here 👑
If you’re feeling a bit lost… don’t worry, learning a new skill is a process, and sometimes there’s just a lot to take in 💗 (we’ve all been there). You can always watch the Free Step-by-Step Video Tutorial Here ✨
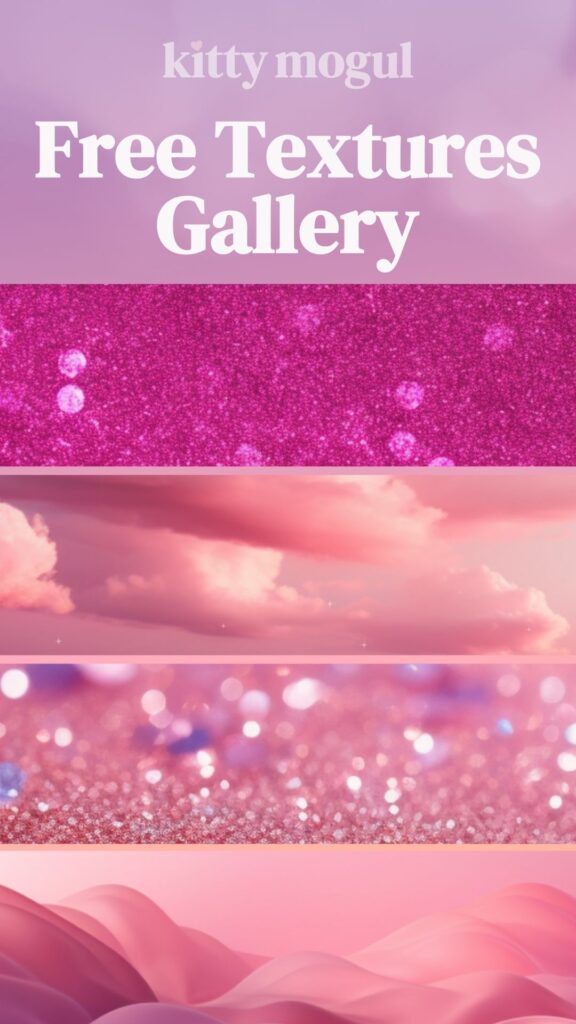
Welcome to this Free License glitter textures gallery and more! – a treasure trove of 100% free, enchanting feminine textures that will add a touch of elegance and charm to your creative projects.
From gold glitter textures, to timeless alluring of rose gold textures, soft iridescent gradients, serene sky textures, and the soft luxury of silk textures – all at your fingertips, ready to infuse your business promotions and social media endeavors with a touch of magic.
These textures are not just tools; they’re your companions in crafting captivating stories and breathtaking designs. We hope this collection adds a sprinkle of inspiration and grace to your projects, and we can’t wait to see how you weave these textures into your creative portfolio. Here’s to your artistic journey, adorned with the beauty of these textures. Enjoy! 🎨🌟
This easy-to-follow tutorial will guide you through the process of creating a glitter text effect in Canva. Whether you have a Canva Pro account subscription or not, you’ll learn four different techniques that will help enhance your marketing designs and social media content with glitter effects using Canva. From this day on you’ll master the art of creating the sparkling glitter text effect in Canva and make your digital designs truly stand out!